
Are Carbs Bad For You?
- Jim Ratti

- Oct 1, 2020
- 4 min read
Updated: Dec 23, 2020
Good carbs? Bad carbs? Maybe yes, maybe no. But they were definitely bad for this 1972 Yamaha!
This week a customer brought me a 1972 Yamaha CS5 that he'd recently acquired. The CS5 a nice little 200cc two-stroke, and this one was all-original and remarkably well-preserved for a 48 yr-old survivor. It had less than 9,000 miles on the clock, but had been sitting for several years. It had a new battery, good compression and spark but wouldn't run.
Here's what it looked like:

The gas was definitely old - it stunk! Luckily the tank was in good shape though, so I drained it and cleaned out the petcock.
Next, I checked the ignition system carefully. The plugs were in good shape so I cleaned them in my vapor hone and gapped them to specs. The points were in fairly good shape so I dressed them with a fine file and gapped them to specs. I set the timing to factory specs (1.8mm BTDC) using a dial indicator and ohmmeter and ohmed out the ignition coils. I confirmed that the condensers were good using my multimeter. I now had strong, well-timed spark at both plugs.
Now on to the carbs. I removed the slides and immediately noticed that they were reversed left to right. Since they're mirror images of each other, that has the effect of installing them backwards. The engine won't run worth beans like that, but it's easy to correct.
But when I looked down into the left carb, I saw this:

Lots of grunge in there...
This picture of the right carb shows what it should look like:

So, this drove me to remove the carbs and go through them thoroughly.
Here's what I found:


The ethanol in today's gas attracts moisture, and moisture allows corrosion and algae to happen. It all adds up to yuck. And clogged passages...
The left carb was worse than the right, which makes sense because the bike was probably parked with the side stand down, allowing it to lean to the left. The gas remained pooled there longer than in the right. But even the right carb showed significant corrosion and grunge.
So, I completely disassembled both carbs and ran all the parts through my vapor hone. After that, I used my carb wires to go through all the jets and orifices to make sure they were clear. I also blew low-pressure compressed air through all the passageways. Here's where experience and knowledge come into play because there are many, many paths through a carb and you have to make sure you get 'em all. And since manufacturers like to use the same castings for both the left and right carbs (despite them being mirror images of each other), there are some passageways that are blanked out. Lots of red herrings here because when you can't pass air through a particular opening, you don't know if it's clogged with gunk or if it just a blank opening. So you just have to know (or be able to figure out) which ones should and should not pass air.
Here's what some of the parts looked like post vapor hone:
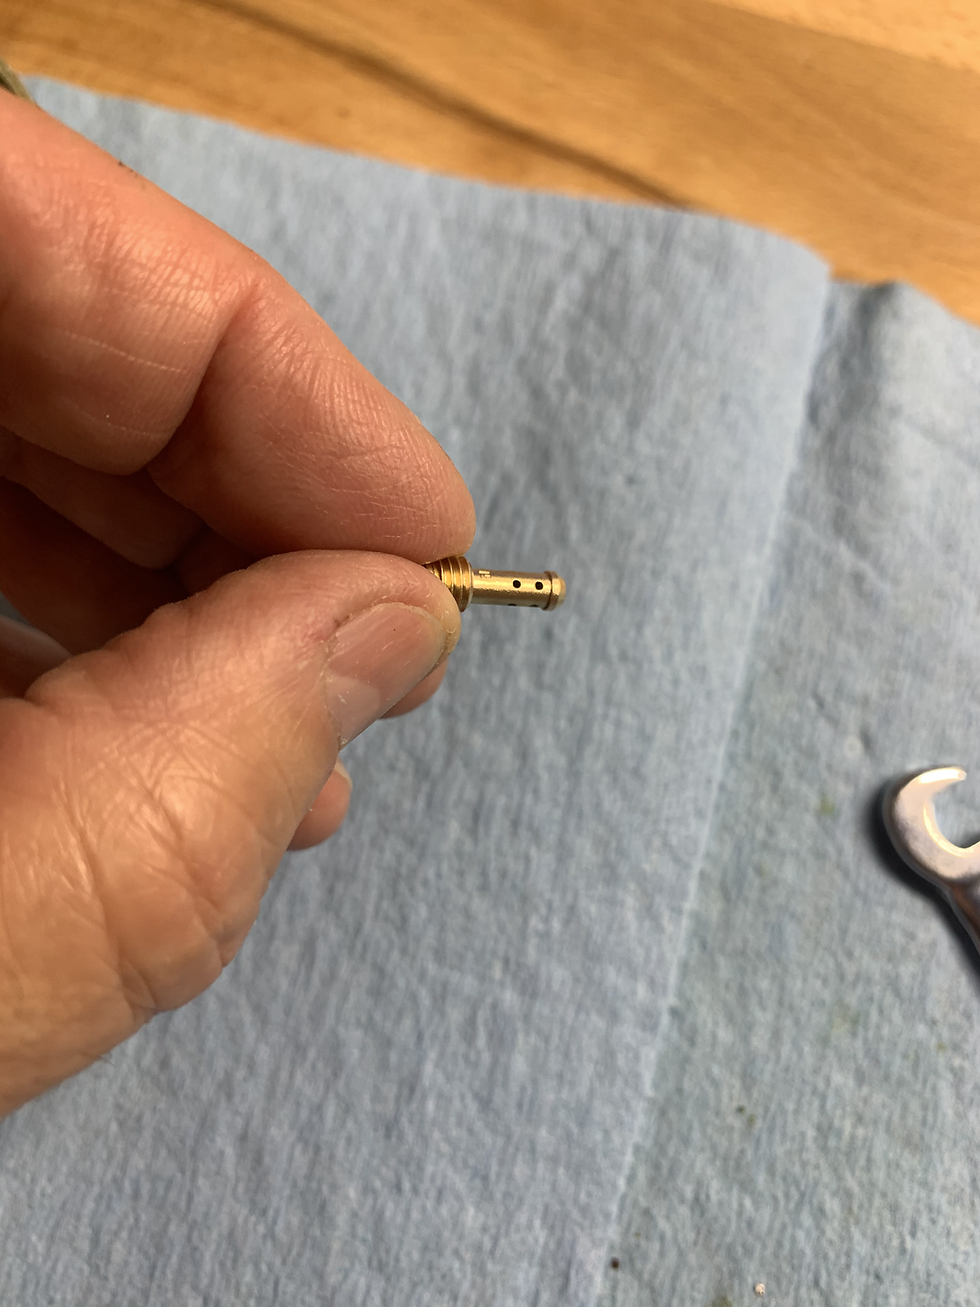


Big improvement! Next I reassembled everything and set the float heights. No drama here except that the existing carb bowl gaskets were toast. If you've ever tried to find replacement parts for a 48 yr-old machine, you know my pain. First, you research the part number (from old diagrams that are often error-laden), then you search the internet. Many suppliers will claim to have the part but when you order it, it goes on backorder or is actually unavailable. Or, someone will truly have the part but the price is exorbitant because they know what they have.
In this case, I found the parts online but the price was too high and delivery times were extended. My customer and I wanted to hear this cool time machine run today! So, I decided to make the gaskets from a sheet of gasket material. I found some in my collection that was very close to the same thickness as the original (about 0.030" or 0.76mm) and was of a composition that's made to seal gasoline and oil. The original gaskets were good enough to use as templates for tracing, so I whipped out a fine pencil and a sharp X-acto® knife and got to work.
Here's what the process looked like:


Cool.
Now on to final reassembly and installation. Here are the carbs ready to install:


And here they are on the bike, all bench-sync'd and ready to go:


All I needed now was some fresh gas. I put about 0.5 gal (1.9l) of good fuel in the tank, opened the petcock and confirmed fuel was flowing to each carb. Then I closed the choke, turned on the ignition switch and hit the starter. The engine fired right up and after just a few seconds, ran without choke. It settled into a smooth (if a bit low) idle. I blipped the throttle a few times and let it warm up. I double-checked the timing with a timing light. Then I completed the final sync, idle, and air screw adjustments. The subsequent test ride went without a hitch and was a nice reward for a morning's work.
Here's a brief video of the finished bike in my shop. Note how the engine springs to life - you can't even hear the starter! Nice.
So, we've learned that good carbs indeed have their place, and it's on a 1972 Yamaha CS5.
What can I do for you?


Comments