
"Sleighing" the Rust
- Jim Ratti
- Mar 5, 2021
- 3 min read
In January of 2021 a customer came to me to see if I could help with restoring a one horse open sleigh that he'd happened upon. It looks just like the ones you see in all those Currier & Ives prints around Christmas time!
Here are a couple pictures that show what we had to work with:


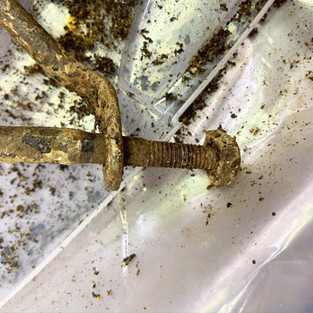
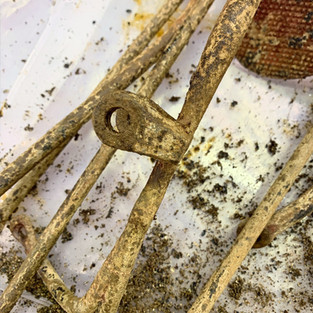
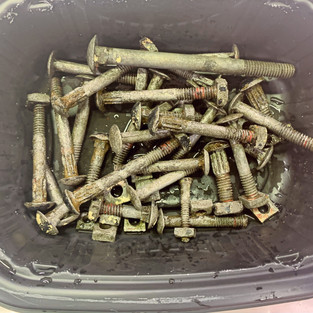
The sleigh is constructed primarily of wood, but it's braced and held together with a lot of handmade, wrought iron hardware. The sleigh had been in a barn for an untold number of years, and the wrought iron and fasteners were in pretty bad shape. My customer was hoping I could get it all cleaned up so that he could repaint and reuse it.
I took a couple items back to my shop and experimented a bit and found I could get them looking good. So, I collected the rest of the parts and set to work.
These pictures give you a sense of what I was starting with. You can click on any one of them to see a larger view:


I soon discovered that, in addition to a healthy coating of rust, most of the parts had three coats of paint. The surface coat was black, the next coat was red, and there was a very tenacious base/primer coat of white(-ish) paint.
After knocking off the loose dirt and scale with a brush, I applied a generous coating of chemical paint stripper. I let it work for about an hour, and the parts looked like this:


The surface (black) coat bubbled up quickly, and the red coat dissolved pretty well too. But the white coat was a lot harder to attack. After wire brushing with mineral spirits, I got this:


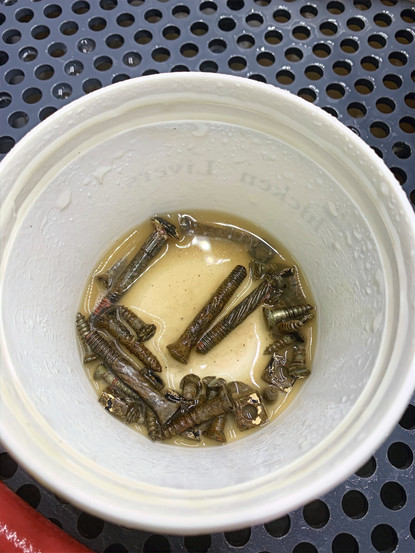
Next, I soaked the parts in a rust remover solution. I found that this not only dissolved and softened the rust, it also attacked the white paint layer. After soaking overnight and using a wire brush, I finally had parts that were ready to go into the vapor hone:


Here's where the magic happened! Although it took some significant dwell time and relatively high pressure, the wrought iron cleaned up very nicely. Here's what one part looked like partway through the vapor honing process:
As you can see, the transformation is dramatic.
Here are a few pictures of the finished parts. Click any of the pictures below to enlarge.


Here's a rather dramatic before/after shot. Click the arrow on the right to advance the picture:


Vapor honing the hardware was a bit tedious, as I had to work with each piece individually, holding it firmly in a pair of pliers as I turned and flipped it to get all sides clean. But since the hardware all appeared handmade and was an essential part of the restoration, I felt it was worth the work.


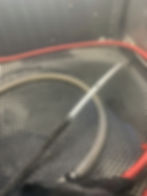
And, I discovered a nice little Easter egg! As I was vapor honing one of the steps, I noticed what looked like some embossed writing on the bottom. You have to use your imagination a bit to see it in this picture, so I outlined it in red.

I did a rubbing and found that the top part said "1886" and the bottom lettering was a "B" enclosed in a circle, probably a trademark.

Using this info plus the overall design of the sleigh, my customer did some research and learned that the sleigh is probably a "Portland Cutter" one-horse sleigh. They were produced in Chicago by Brewster & Company (hence the circled "B") in the late 1800s. Pretty cool.
When I got everything done, I coated the parts with a rust inhibitor so that they'd stay nice and clean until my customer is ready to paint everything again.
So, it took a significant amount of time and effort, but I'm really happy with the way the parts turned out. I'm looking forward to seeing the sleigh all put back together!
What can I "sleigh" for you?